



Noticias
How to Brief Embroidery and Printing Without Surprises
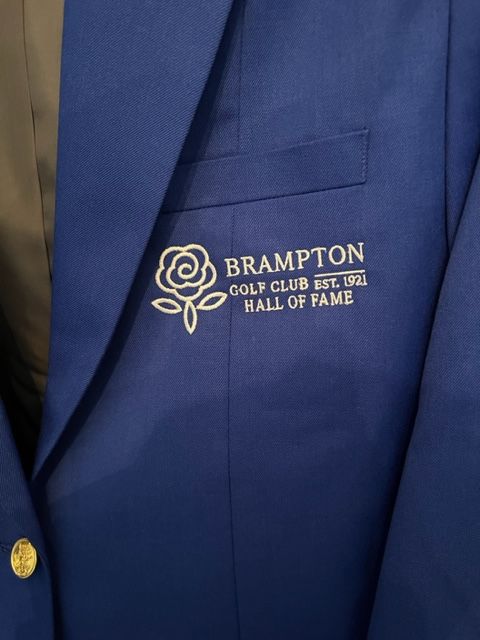
Embroidery and printing are the most common customization on jackets. Buyers often say “put the logo here” and hand it to the factory, then find on bulk delivery that the position is off, the color is wrong, the print peels or the embroidery is stiff. Most problems are not that the factory cannot do it, but that the brief was not clear. Treat these two processes as small steps that need a spec, not decoration added in passing, and bulk will come out quietly as you pictured.
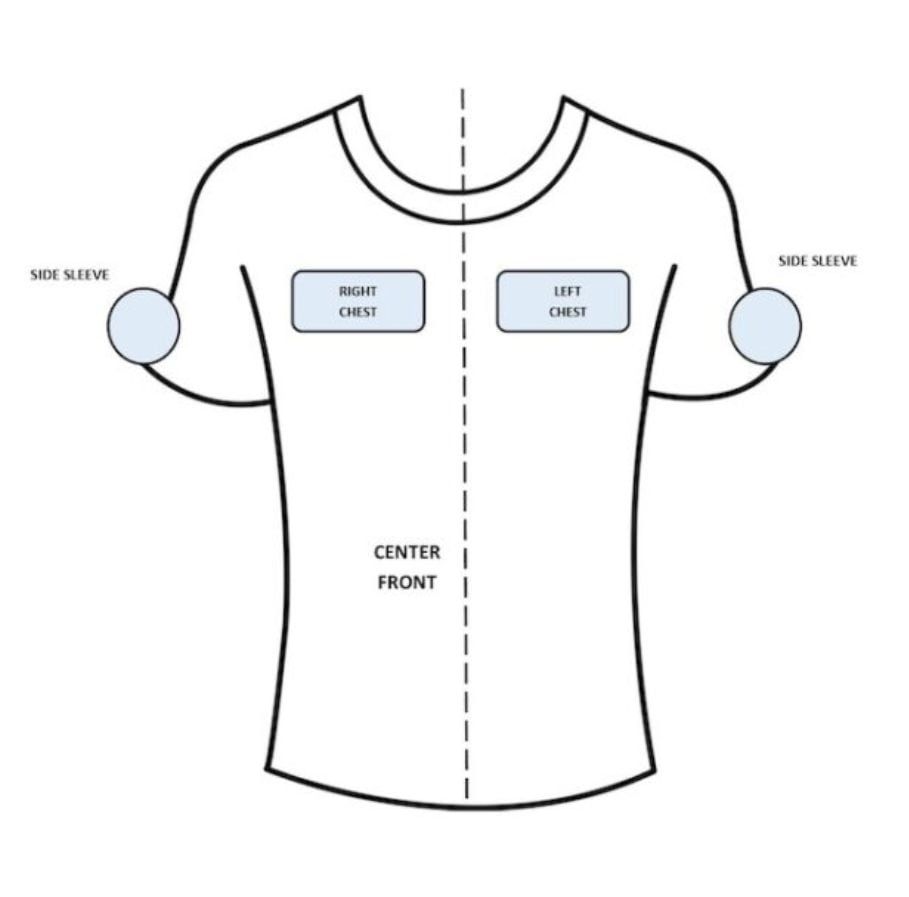
Position must be specific to a reference point, not vague words like “front” or “on the sleeve.” The safer way is a marked image of the worn garment: a few centimeters down from center back collar, above the left chest pocket, two centimeters by the side seam at the hem. With a picture and a distance, the factory will not guess. Giving only a direction without a size, the result often differs from what the buyer had in mind.
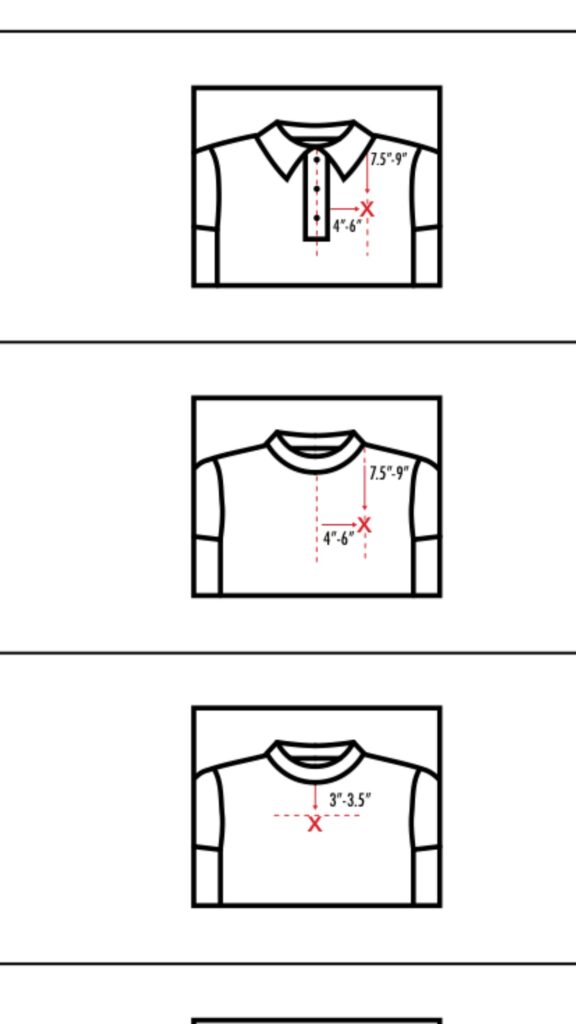
Size should be a real number, for example embroidery height in centimeters or print width in centimeters, with the maximum allowed deviation stated. The same logo should be different sizes on children’s and adult jackets, and if unspecified the factory follows its own habit. A common mistake is sending a reference photo saying “this big,” but a photo has no scale, so no one knows the exact size.
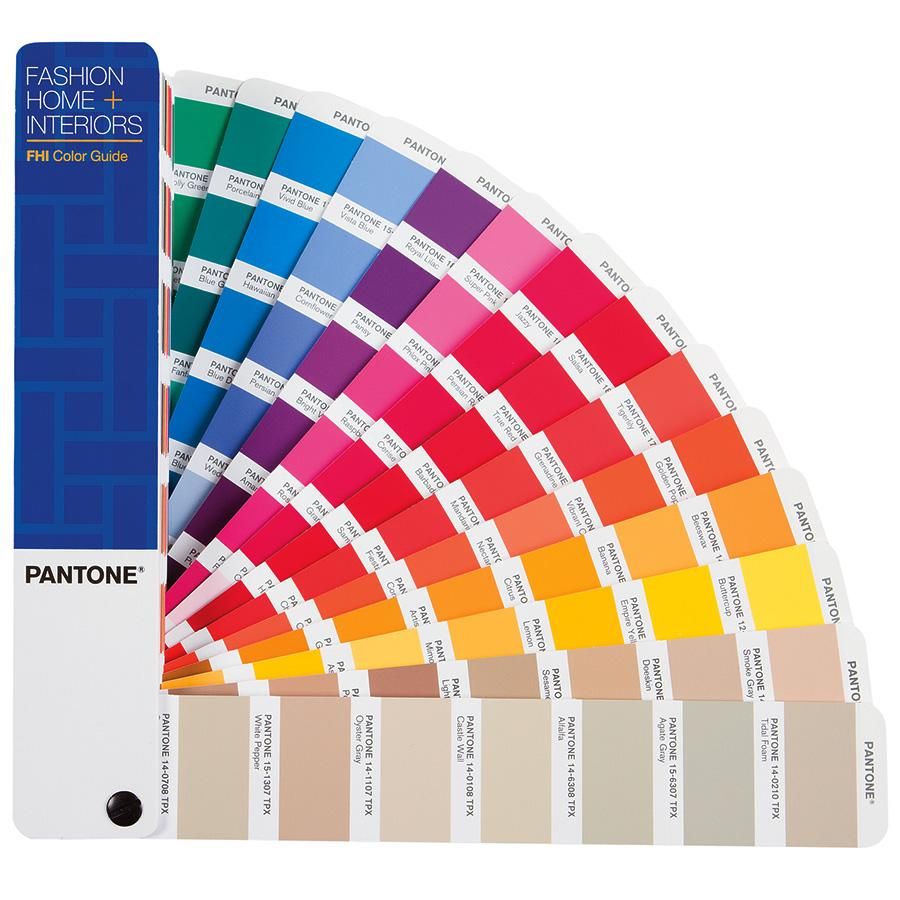
Color needs a comparable standard, such as a Pantone number, not “same as your website” or “like last batch.” Screen color differs from the physical item, and both embroidery thread and print ink have their own tolerance. Give a standard number and note the acceptable deviation, so the factory knows which way to adjust and you have a basis when receiving goods.
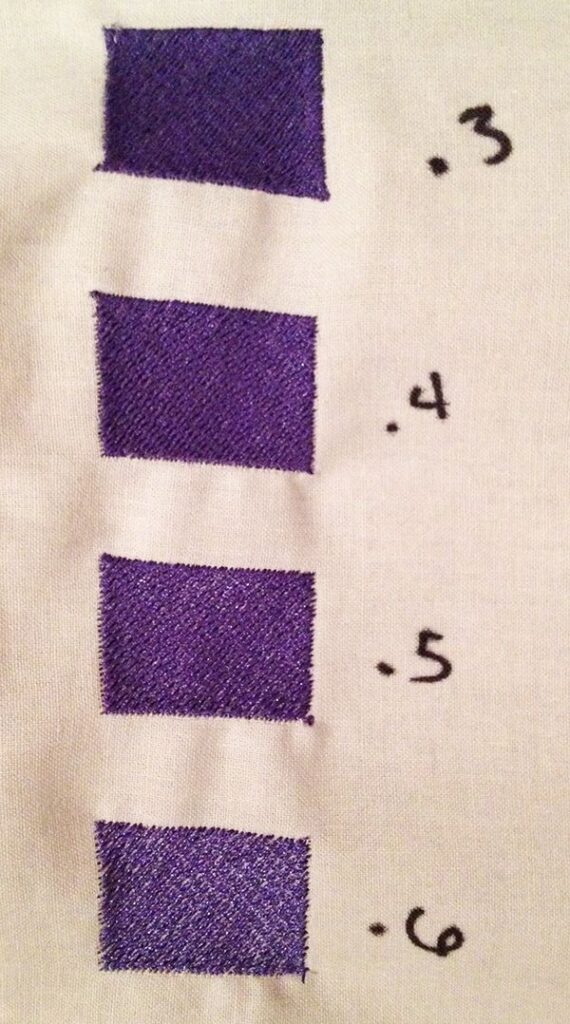
Embroidery itself has points to put in the instruction. Stitch density too loose tends to come undone; too dense makes the fabric stiff and uncomfortable. A complex thin-line logo will blur when embroidered, so ask the factory the minimum stitchable line width in advance. Also state which thread to use, whether the back needs trimming, and whether backing paper is required. Without these details, the factory uses a general method that may not match your intent.
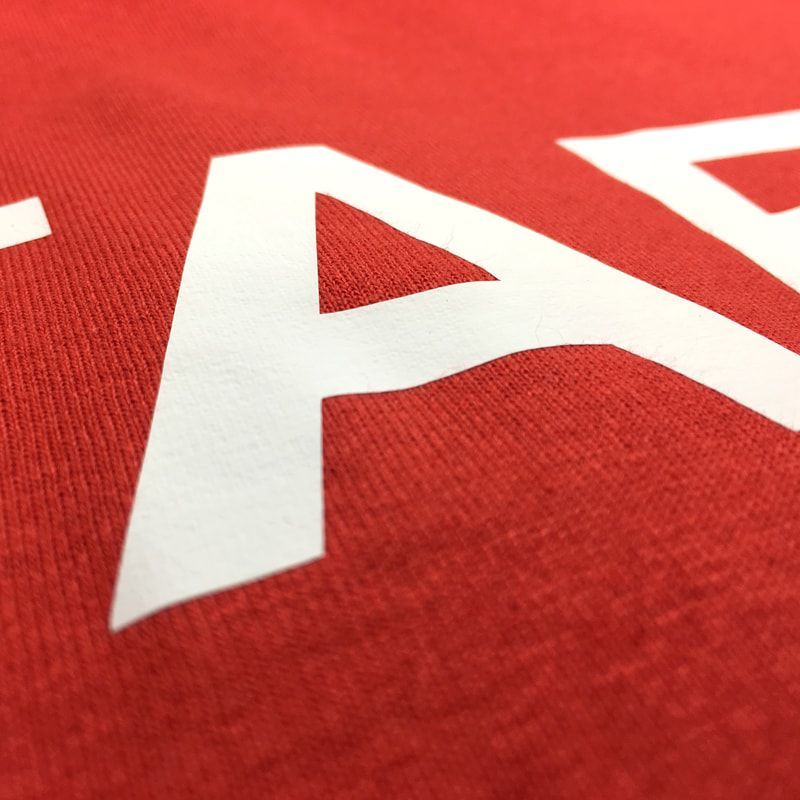
Printing needs its process and performance stated. Plastisol, heat transfer and digital print differ in method and hand feel, and in wash durability. On children’s or sports jackets that are washed often, confirm how many washes the print survives without cracking or peeling. Some European markets restrict chemicals in print ink; if your brand has compliance requirements, write them into the instruction early rather than testing after bulk is done.
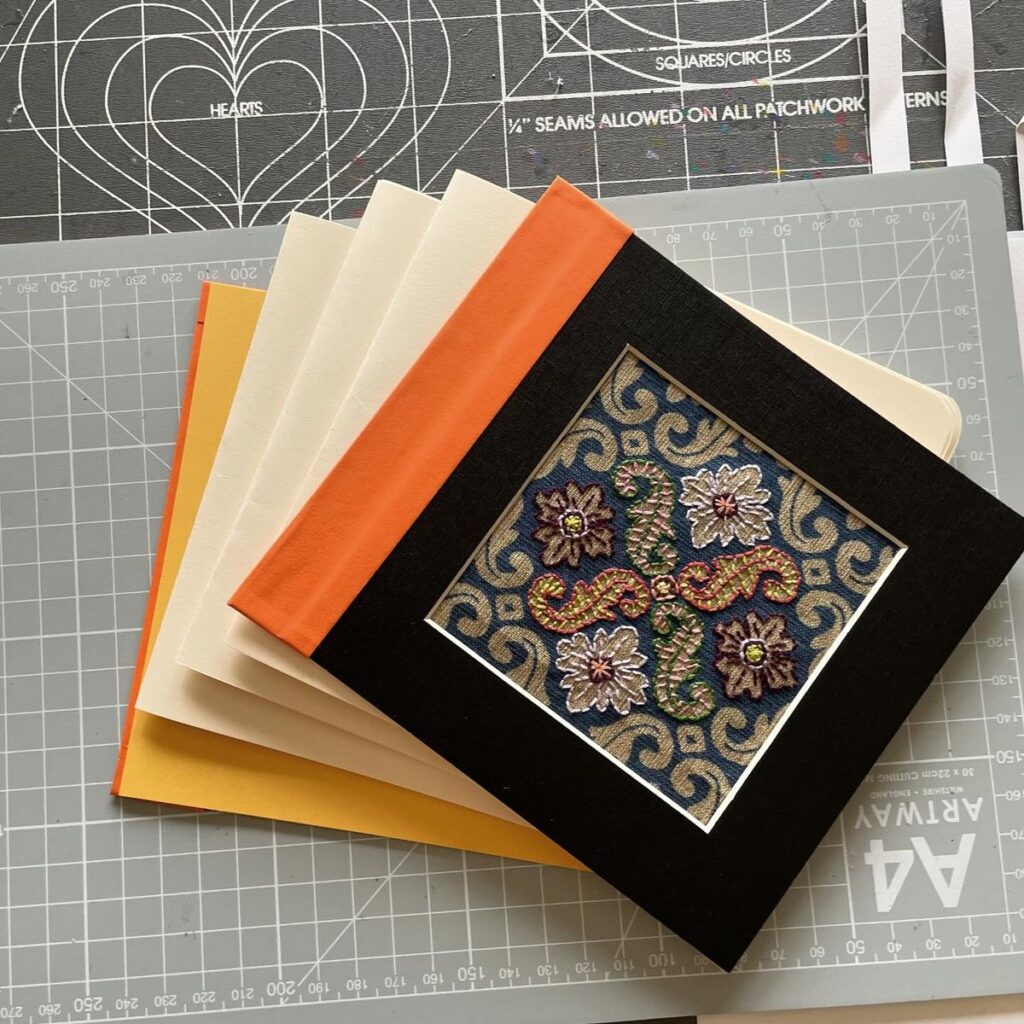
The easiest and steadiest step is to make an embroidery or print sample first. Apply the logo to the sample garment per the instruction, or make a swatch to confirm position, size and color, then move to bulk once satisfied. The time spent here is worth far more than the time and money saved by skipping it, because many surprises are killed at the sample stage.
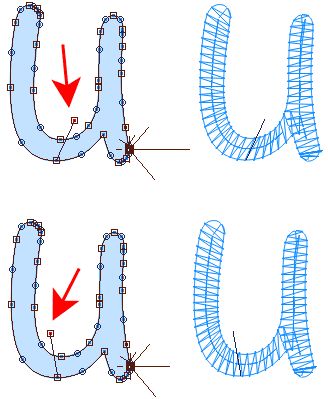
The file given to the factory should be a vector, such as AI or EPS, not a JPG screenshot. A low-resolution image blurs when enlarged and the factory cannot trace it. What you provide is a source file that restores lines and fonts, so the factory can produce a clean embroidery or print. A clear artwork beats ten verbal descriptions.
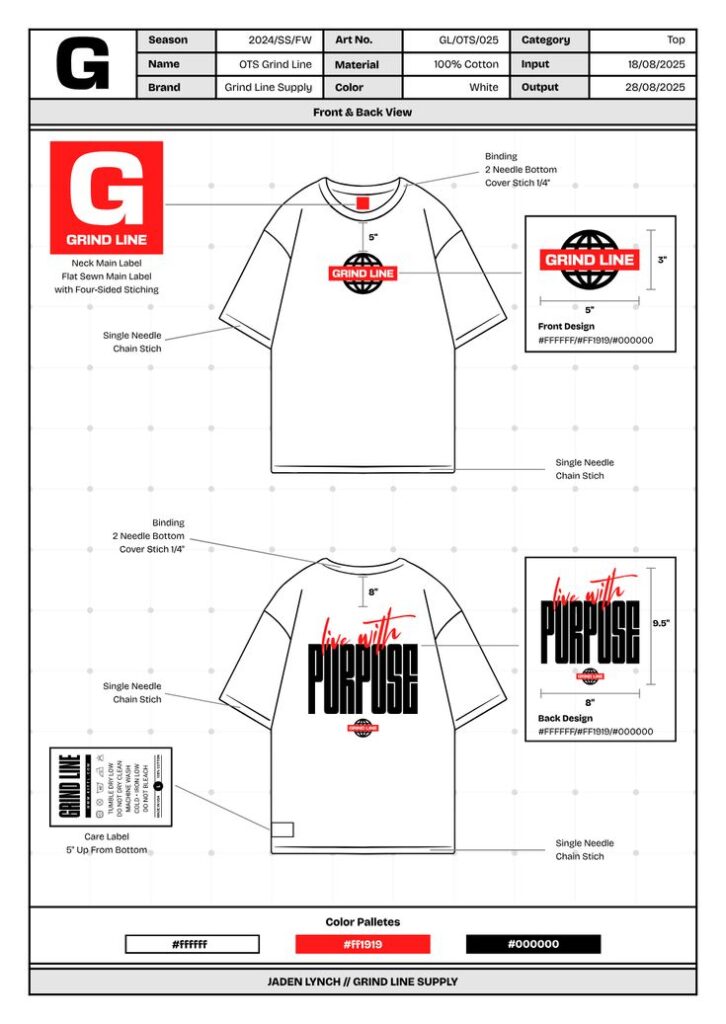
All requirements should finally go into the tech instruction and be confirmed in writing: position image, size, color number, process, wash requirement and file format. Words like “about right” or “you decide” are exactly where bulk surprises breed. Write it down and confirm with both sides, so when something is off you know which step deviated instead of guessing.
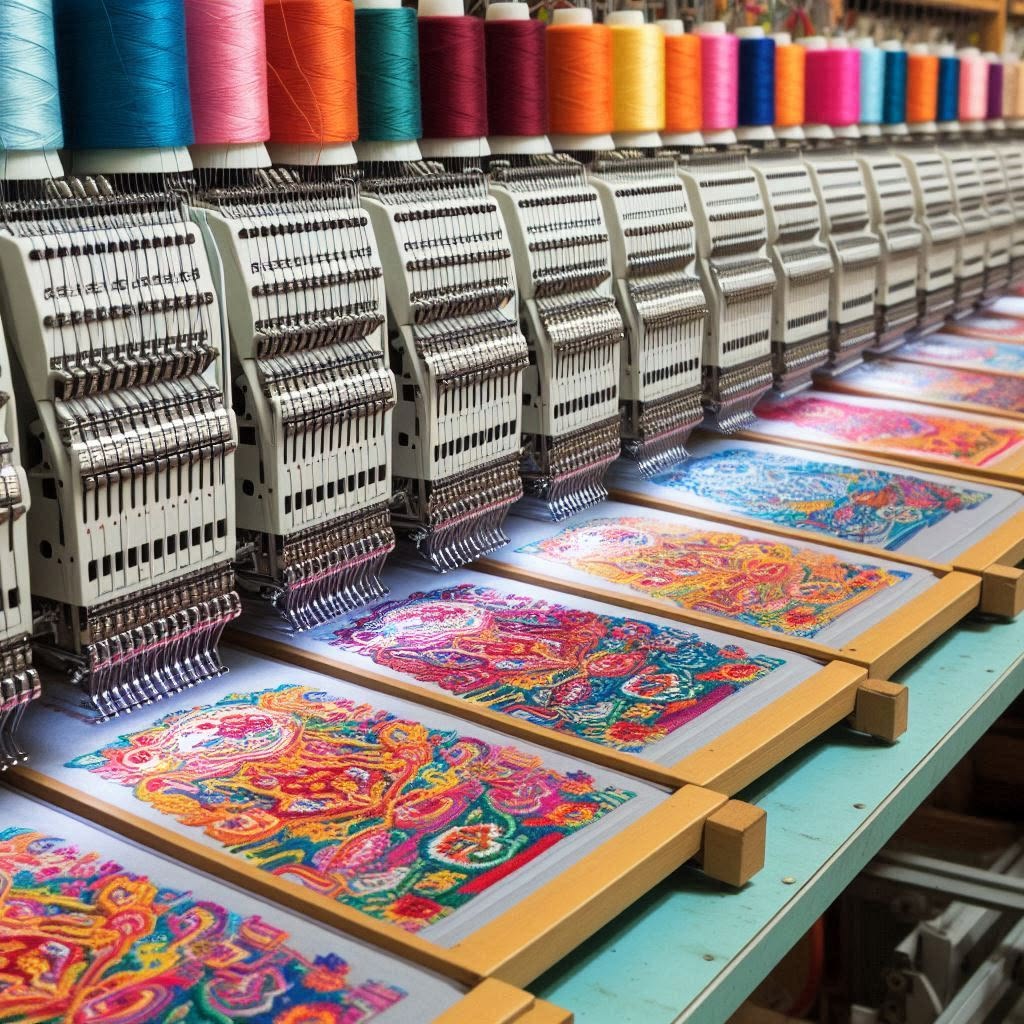
Treat embroidery and printing as small processes that need a spec, not decoration added in passing. The more specific the brief, the quieter the bulk. A cut-and-sew factory like Cciola follows the embroidery and print requirements from the buyer’s instruction; the more detailed you write, the steadier the output and the fewer surprises on arrival.